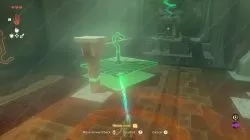
Ukouh Shrine Zelda Tears Of The Kingdom, First Shrine
The Ukouh Shrine in Zelda Tears Of The Kingdom is the very first Shrine you will encounter in your new adventures. This will be where you’ll first learn the Ultrahand ability and how to use it. In this guide, we explain how to complete this Shrine and how to reach the Chest inside it.
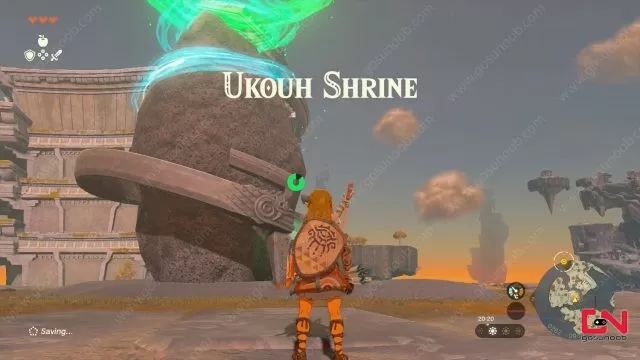
How to Complete the first shrine – Ukouh Shrine in Zelda Tears Of The Kingdom
This Shrine is the one you’ll encounter at the very being of the game. Hence, you will know its location as it’s essential and unavoidable if you want to leave the first area. That’s where you’ll learn the Ultrahand ability. Unlike many from BOTW or the ones you’ll encounter later in the game, this one is straightforward. The Ultrahand ability works like the Magnesis rune from the previous game. On top of that, it allows you to combine certain things. For example, for the purpose of this shrine, you will need to combine a hook with a wooden platform to create a lift which will bring you to the other side.
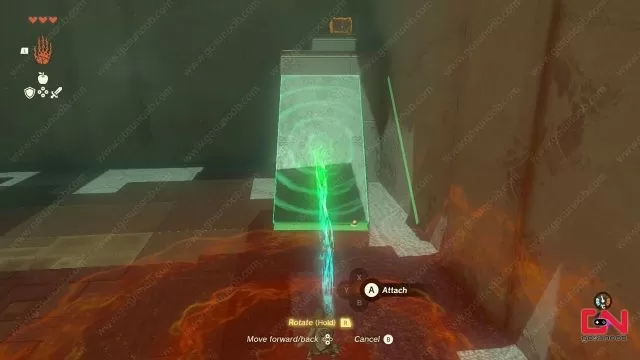
With the first obstacle, grab the rectangular platform and position it in a way that creates a bridge above the gap to get to the other side. The second gap is too big to create a bridge. Hence, you’ll need to create a ramp by positing the platform on the other side of the gap and then climbing via it to the other side.
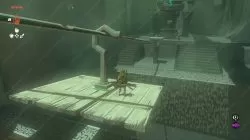
Finally, for the third obstacle, you’ll need to glue together a hook with a wooden platform to create a lift. This can all be done with your Ultrahand ability. Once you have the lift, attach it to the rope leading to the other side, and then quickly jump on the platform for the ride towards the end of the Ukouh Shrine. For details on every obstacle, check out our images below.
How to Get Chest Ukouh Shrine in Zelda Tears Of The Kingdom
Before leaving the Shrine, don’t forget to pick the Ukouh Shrine Chest! This one is after you pass the first two gaps. What you will need to do is to grab one rectangular platform with the Ultrahand and create a ramp in order to reach the Chest. Check out the images below in order to know exactly how to do it.
