Zelda BotW Shada Naw Shrine - Red Giveaway Challenge
Shada Naw Shrine is home to the Red Giveaway challenge in Zelda Breath of the Wild. It has a weapon that is more than valuable when you fight Guardians. The puzzle inside might be a bit difficult, but we’re here to help. In this guide, we’re going to show you how to finish Red Giveaway challenge and clear out Zelda BoTW Shada Naw shrine.

Shada Naw Shrine Location
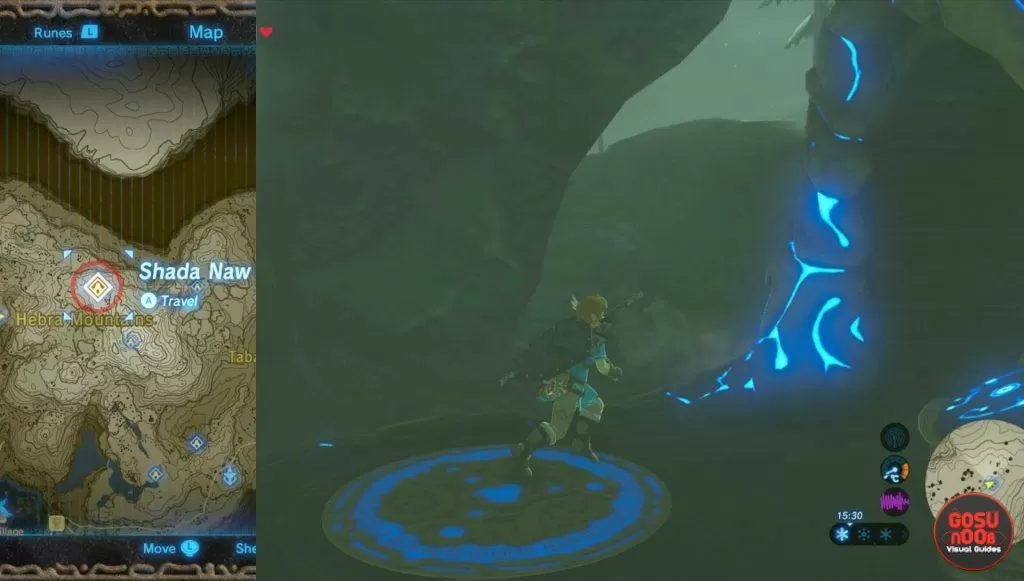
This shrine can be found in the northwestern part of the main map, in the area called Hebra Mountains. You’ll need some decent cold protection here in order to survive. Once in this part of the map, look for the area called Selmie’s Spot. It is just northwest from Hebra Peak. Other than the fact that it is on a mountain, and a bit hidden under a small cave, there shouldn’t be any problems with spotting it.
Treasure Chest in Shada Naw
Once inside the shrine, look further to your left. There, in a small hole, you should be able to spot a treasure chest. Get close to it and use Magnesis to pull it out. Inside is a Great Frostblade (30 damage) weapon. Try not to leave the chest on the area below its original location.
How to complete Shada Naw?
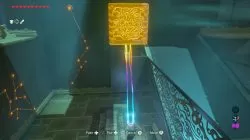
There is an intended way to do it, and the easy way. To complete it like the designers probably thought it should be done, you’ll need to use the giant metal cube. With the help of Magnesis, carry it to the front of the shrine’s entrance, down on the lower platform. If you scan the area with the Magnesis, you should see a piece of wall that can be pulled out. Once you do it, place the metal cube on top of it.
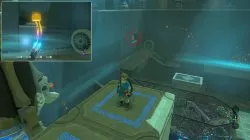
Now, you’ll need to carry the ball to the first air blower device. Before you do, take a look at the moving platform in the distance. As soon as it starts moving towards the center of the shrine, put down the ball, and go to the shrine’s entrance on the part with blue light. The ball should make a full circle and land on a switch that makes the blue platform at the start to rise up.
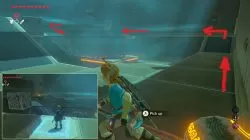
The easy way is where you pick up the ball, get it to the platform from where it will go downhill, and use Stasis before it does so. Now run quickly to the shrine’s entrance, where the blue markings are, and wait for the Stasis to wear off. The ball will go down and reach the switch destination, activating the elevator you’re standing on.


Even easier: magnesis the cube into the cage above the switch and put the ball behind it. Then magnesis the cube up when you’re on the correct platform and the ball will roll into the switch.