Zelda BoTW Champion Mipha's Song Riddle Solutions
Champion Mipha’s Song is a new riddle that is part of the quest that was introduced with Zelda: Breath of the Wild Champion’s Ballad DLC. As you’ve cleared out the enemy camps and completed the shrines on the Plateau you will get four new points to visit. These hold monuments with riddles on them. Each monument is accompanied by a Champion Song that gives clues to help you find additional steps to the quest. Mipha is the champion of Zora and you will find her monument near their main city. Monument has three pictures with yellow dots marking exactly what you should be looking for and a verse containing a riddle that will help guide you. Completing Mipha’s Champion Song will take you to shrines that are not easy to solve and have you fight tough enemies. In this guide we’ll cover how to conquer all of those challenges.
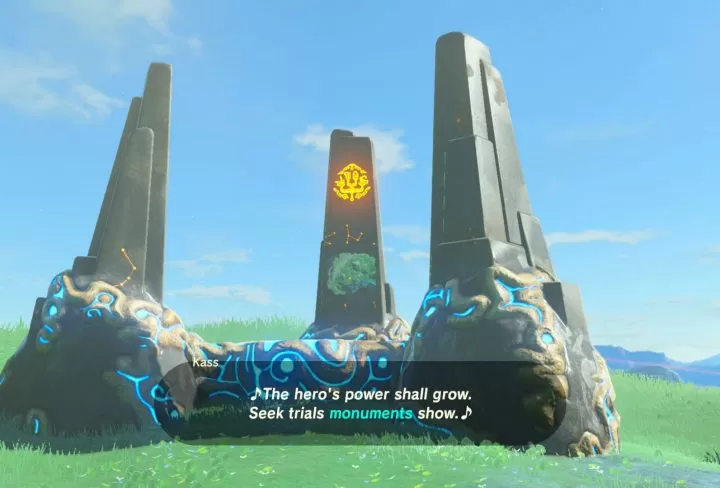
Champion Mipha’s Song Monument Picture Riddle
When you reach Mipha’s monument you will see there are pictures on each of the stones. Kass will also sing you a song containing clues that tell you what you need to do at each of the three locations. Clues are:
- Find what the light’s path shows
- Conquer the ancient foes
- Chase rings of the waterfall
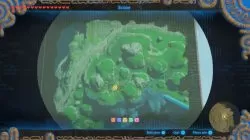
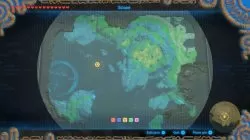
Images show locations in the Zora domain. If you zoom in on the map and look around their capital you should be able to find the spots. If not, following in the guide are locations of all three spots and solutions to riddles that will open up shrines you need to solve.
Find what the light’s path shows
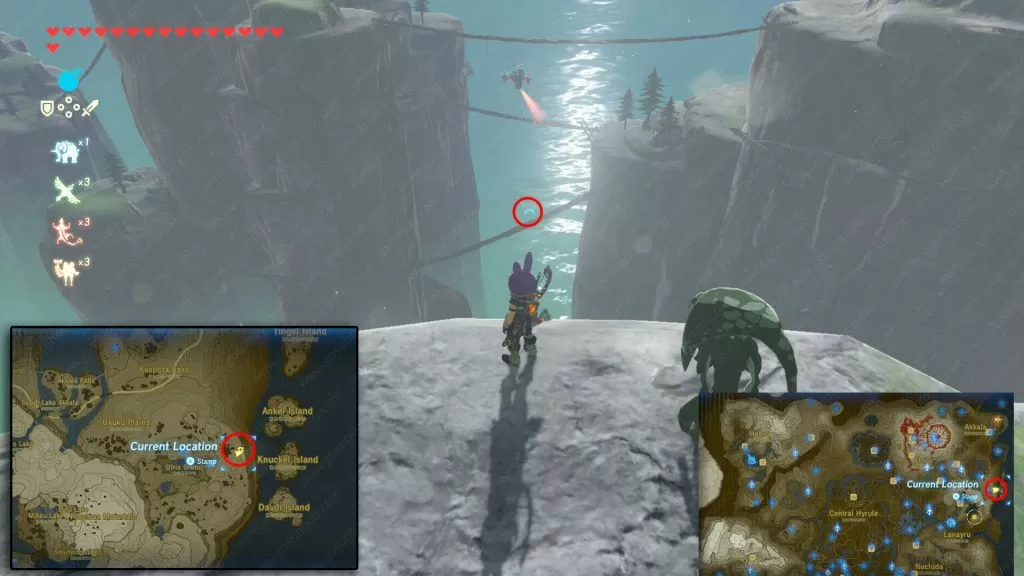
Go to the shore east of the Zora capital and Ulria Grotto , near 4 connected islands. At the edge of the shore you’ll find a couple of Zora residents and Muzu will tell you the following:“While the morning sun is newly born,
follow the path of light to the trial.”What you want to do is fire up a nearby bonfire and sit at it to forward time to morning. As soon as it’s morning you should look at the sea to the east. You should see the sun’s reflection in the water and among it a blue-ish glimmer. Glide all the way to this blue gate and swim through it. This should reveal Kee Dafunia Shrine.
Kee Dafunia Shrine Solution – The Melting Point
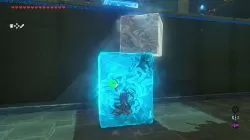
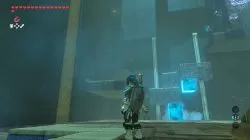
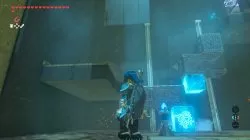
Your task in the shrine is called The Melting Point and as the name suggest you need to do some ice melting. There’s a torch on a nearby brazier that you should pick up and light and go across to two large ice cubes. Melt them until you are able to pick them up. Now put each to the pressure plates to the left and right. This will release two big ice cubes on both sides. Melt one of them until it’s small and you can jump up onto it, and melt the one closer to the central platform so you can reach the platform itself. Keep melting the ice cubes so you create a staircase for yourself until you are all the way on the top and have one large ice cube in front of yourself and a way to the shrine’s end. What you want to do is melt that ice cube just enough so that you can push it. Push it until you reach the wall in the little pool. On top of that wall is the end of the shrine puzzle. You now wan to use freeze to create an ice pillar that will push the melted ice cube upwards. Climb the ice pillar and the ice cube and you should be able to reach the very top of the wall. This concludes the Kee Dafunia Shrine.
Conquer the ancient foes
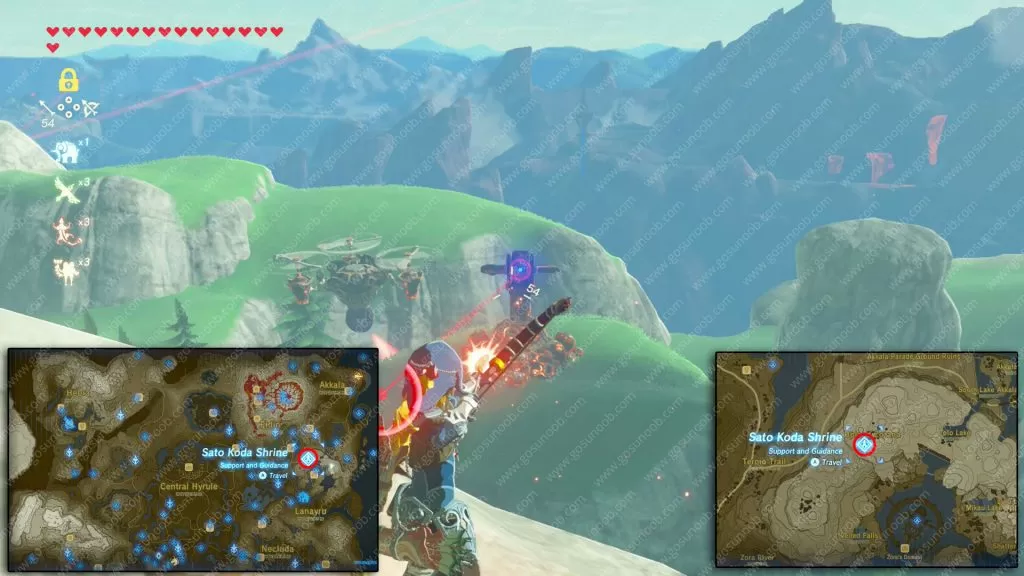
Next you need to go to Upland Zorana, which is a mountain top north of Zora’s domain. (reference the map screenshot we provide bellow). You will need to kill ancient foes and there are three Guardian Skywatchers and a Guardian Turret located at Upland Zorana that fit the description perfectly. Killing these is not an easy task. You can kill the turret by getting close to it and pummeling him with your weapon, while making sure to break his targeting laser with a well placed arrow to the eye. The flying guardians are hard to kill. IF you are good with shield parry that should get rid of them within 3-4 parries. Couple of ancient arrows will make short work of them as well. If you are low on supplies you can try hitting each of their propellers with bomb arrows. After you destroy all three they will fall to the ground, helpless and you can pummel them to oblivion. After disposing of the ancient guardians Sato Koda shrine will appear.
Sato Koda Shrine Solution
A small Rube Goldberg machine awaits you inside this shrine. Your goal is to use Freeze to get the ball to reach the basket at the bottom, which will propel it toward the unlocking hole. I got stuck here for a while, because it quickly became obvious I will need to have 4 ice pillars to have the ball go to where I need it to go. Turns out the answer to the problem is Stasis!. Use stasis on one of the seesaws to lock it in place and this will have the ball reach the end. It took a while to place the ice pillars correctly, but in the end it all worked out. I still haven’t figured how to get the chest in here, so if you have please let me know in the comments.
Chase rings of the waterfall
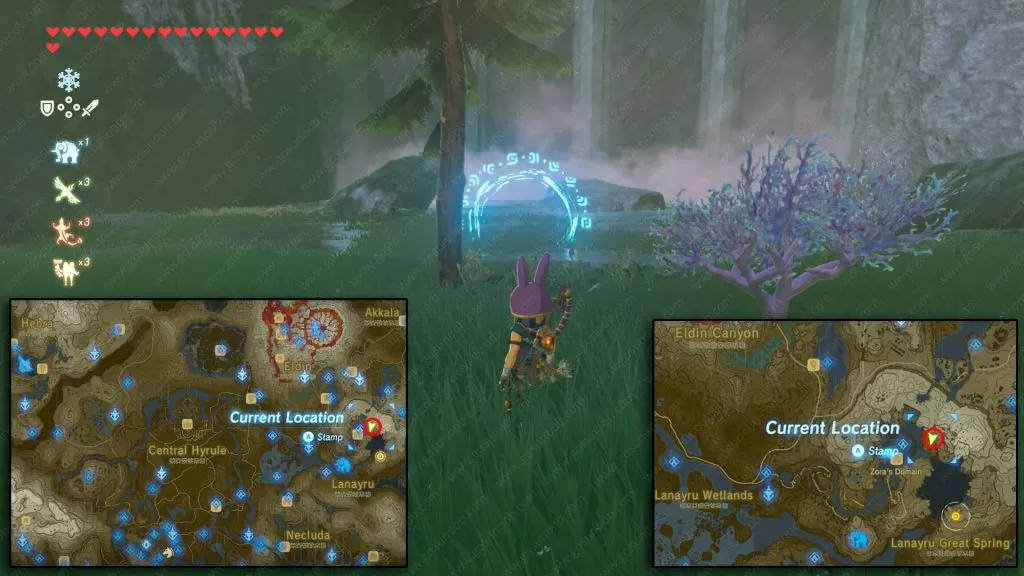
This was the easiest challenge of the three. Location of the start of the challenge is just east of Zora’s Domain main city, in the bottom of the Mikau Lake waterfall. You will see a blue gate at the spot shown on the map bellow and once you go through it a timer will start ticking. Swim to the waterfall and go upwards. You will need to have Zora’s armor equiped to have the ability ot swim up waterfalls. Follow the gates that keep appearing and once you reach the end of the track Mah Eliya shrine will appear.
Mah Eliya shrine solution – Secret Stairway
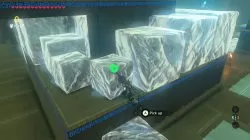
You have two large metal cages that you need to move in position and combine with a metal cube, found in an alcove to the left, so you can reach the top, where the shrine ends. You need to use Freeze to lift the left metal box up. That way you will reach the metal cube in the alcove to the left. Bring the cube and place it on top of the box you just raised with freeze. Use magnesis to raise the right metal box all the way to the top. Now, you will really have to be quick. Push up on the controller to open up the skill choosing menu and get Stasis. As soon as you exit the menu the box will start falling. You need to catch it and stop it with stasis before it drops too low. If you manage to do it right I recommend you put a ice pillar bellow it to keep it in place after stasis runs out. Now get on top of the right box and if you still can’t reach the top use magnesis on the metal cube and put it on the right box. This should give you enough height to reach the top of the platform and complete this shrine.
How to kill Waterblight Ganon in the Illusory Realm?
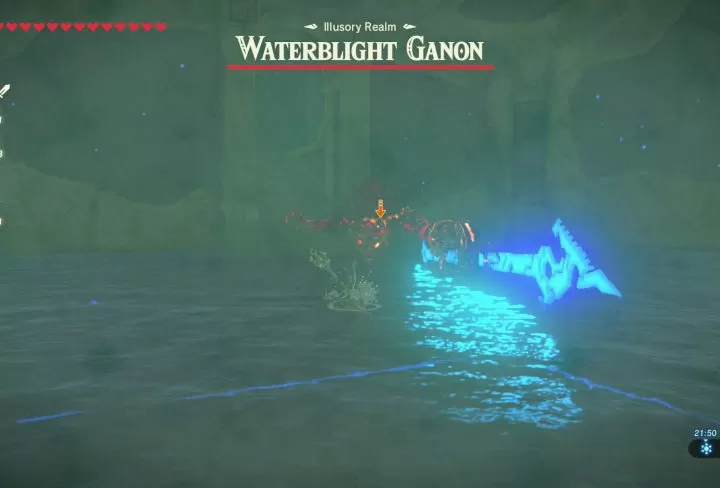
Key to winning this fight is having lots of health and using Urbosa’s Fury. This was one of the toughest fights in the game for me. The problem is that you start with pre-defined items so there will be no healing nor heavy hitting weapons. I recommend you go to the inventory and eat the HP enhancing food and drink the speed potion. First half of the fight is easy. Dodge it’s melee attack and pummel him until his health drops to half. Second phase of the fight is him summoning ice cubes that he throws at you and you not having the range to hurt him, because of all the water in the arena. You have ten arrows that I recommend you use to critical hit him in the eye. After his health reaches one quarter he will start summoning 3-5 cubes to throw at you. You can break those with your freeze. In the end I killed him by destroying all 5 cubes with my freeze and quickly swimming up to his platform where I charged up Urbosa’s Fury, which took down its health. What made the fight so difficult is that I had only one Urbosa’s Fury, instead of the usual three, so I had to take its health down perfectly via other means.
I hope these tips help you in solving all the Champion Mipha’s Song challenges and get you one step closer to getting the treasure at the end of this great DLC. They seem to have kept the toughest challenges for last and having to go through them was a blast. Feel free to also check out our guide to Champion Revali’s Song and how to get Zelda BoTW Phantom Ganon Armor.


Sato Koda shrine doesnt need stasis, its just a balancing act with the ice cubes. To get the chest, just walk over to it, and use the ice pills to build staggeres platforms you can climb right up to the chest.
magnesis the platform then switch to stasis and stop it above the ground and then bomb it and climb up
You only need ONE block of ice to solve the shrine. Right below the first hole where the ball falls into, you place it so, that the ball hits the corner of the ice, and bounces to the goal, then it gets launched and lands in the basket thing…
You DO NOT need 3 ice blocks AND stasis 😛
Waterblight Ganon is tough, but there’s a pretty convenient shortcut. When he summons a single ice block, wait til it gets close, then use Stasis on it, and jab at it a bunch of times to have the icecube launch back at him – this will make WB Ganon drop to the ground. Start making your way to WB Ganon about a second or two before Stasis runs out, so you can attack him right after he falls.
You also might want to quickly switch to one of the lesser tridents to jab at the iceblock to save the stronger one for Ganon himself, if you’re worried about weapon decay.
If WB Ganon chucks 5 iceblocks at once, you can destroy all but the middle one with Cryonis, then switch to Stasis again to launch the last one back at him.
Use cryonis to climb on the ice to reach the chest
One thing to note about the Waterblight Ganon fight.. as with other fights, weapon durability seems to not be a factor, and they gave you three spears with which to fight. My guess is that the two lesser spears are meant to throw at him in the 2nd phase, giving you a couple good ranged hits if you need them.
The chest in Sato Koda shrine is easy to get. Go to the orbs final resting place, use cryonics on the wall of water, climb the ice, and repeat til you’re on the platform with the chest.
For Sato Koda chest… Glide to the ball launcher, then when it launches you, glide towards the chest, landing on the gate right before it. You’ll be rewarded with a giant ancient core.
I pummeled him until he raised the platforms. What I found worked best at that point was to get underneath of him, charge up your weapon, let go to shock him and bring him down. After I did this twice he was down.