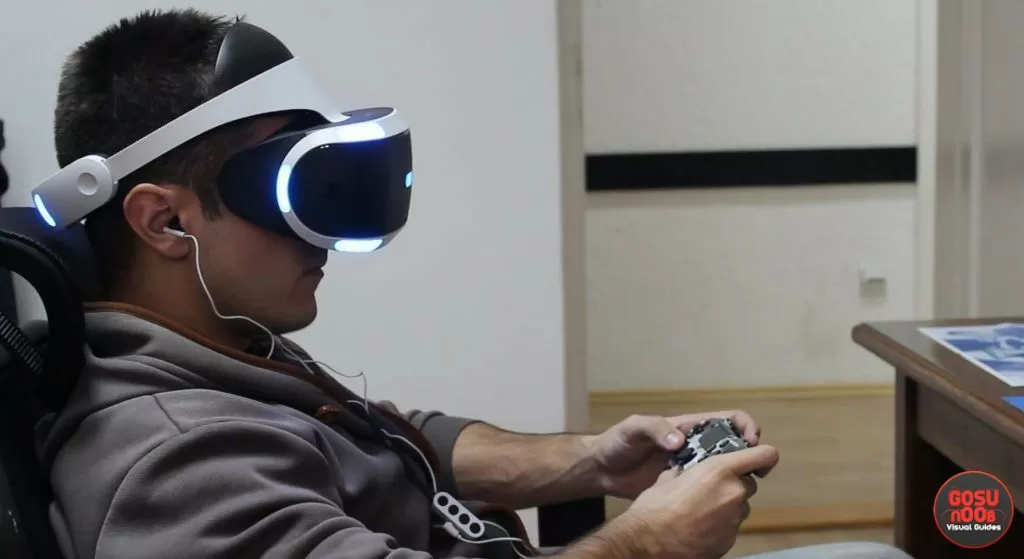
How to Reduce Blur on PlayStation VR
Blur on the VR headset is a common problem for their users, and all of the devices that are currently in use have a lower resolution than your HD monitor or TV. But still, there are ways to reduce the blur on PlayStation VR, and here are some general tips and tricks for that.

This way you can optimize the 3D video that you see with your headset. During the initial setup of the device, this is not included in the process, so make sure you do it if you have problems with the 3D vision. You will have to stand close to the camera and then press OK when your face is in the square.
Then you will have to set the center of the square in the middle of your pupil. Do this for both eyes and you will then have adjusted the eye-to-eye distance, and it may help you reduce the blurring issue a lot.
You will have to position yourself in the center of the square where the camera is pointing. If this is not possible, adjust the camera position, or adjust the position of the furniture that you will use when playing the PlayStation VR. It will be required of you that you take 3 different positions.
Take off your VR device, get close to the camera and show the PS VR to your camera, so that the lights match the positions that are showing on your screen. You will have to this five times, but in the end – you will finally have your PlayStation 4 VR as good as it can be.
Make sure that you know the correct order when you are putting the headset on. Be sure to follow the instructions, or at least read them.Put on the headphones Pull out the scope and if you are wearing glasses – leave them on Press and hold the button on the back of the VR Release the button when you’ve adjusted the device on your forehead Adjust the scope position Lower the headband Turn the dial and adjust the headset position

Measure Eye-to-Eye distance
On the PlayStation 4 go to Settings > Devices > PlayStation VR > Measure Eye-to-Eye distanceThis way you can optimize the 3D video that you see with your headset. During the initial setup of the device, this is not included in the process, so make sure you do it if you have problems with the 3D vision. You will have to stand close to the camera and then press OK when your face is in the square.
Then you will have to set the center of the square in the middle of your pupil. Do this for both eyes and you will then have adjusted the eye-to-eye distance, and it may help you reduce the blurring issue a lot.
Adjust PlayStation camera
On the PlayStation 4 go to Settings > Devices > PlayStation VR > Adjust PlayStation cameraYou will have to position yourself in the center of the square where the camera is pointing. If this is not possible, adjust the camera position, or adjust the position of the furniture that you will use when playing the PlayStation VR. It will be required of you that you take 3 different positions.
Adjust tracking lights
On the PlayStation 4 go to Settings > Devices > Playstation VR > Adjust Tracking lights > VR HeadsetTake off your VR device, get close to the camera and show the PS VR to your camera, so that the lights match the positions that are showing on your screen. You will have to this five times, but in the end – you will finally have your PlayStation 4 VR as good as it can be.
Know how to put on the headset
On the PlayStation 4 go to Settings > Devices > Playstation VR > Check out how to put on VR headsetMake sure that you know the correct order when you are putting the headset on. Be sure to follow the instructions, or at least read them.

