Take a Picture in Disney Dreamlight Valley
Being a life-sim that is very similar to Animal Crossing, Disney Dreamlight Valley is also filled with all sorts of activities that you can undertake. One of these is the ever-popular picture taking. Doing this will allow you to take a snapshot of your character and surroundings, perfect for making a cool little memento that you can share with your friends. But doing this isn’t as straightforward as it might seem, and many players are wondering how to take a picture in Disney Dreamlight Valley. We’re going to explain everything you need to know about picture-taking in DDV right here.
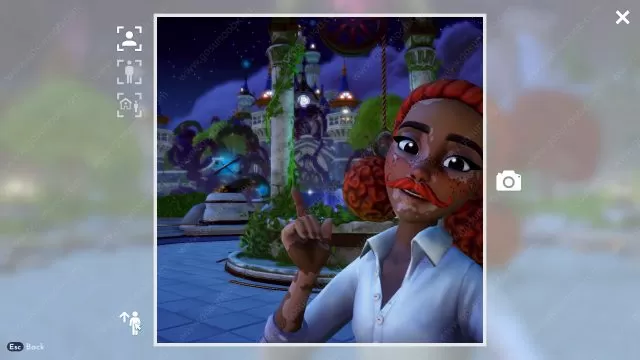
How to Take Picture in Disney Dreamlight Valley
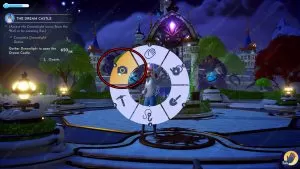
In order to take a picture in Disney Dreamlight Valley, you will need to – naturally – use the camera. It is a tool in the game. Luckily, unlike the Royal Tools that you need to acquire during the game, the Camera is unlocked right from the beginning. Go into your Tools wheel and select the Camera from there. You’ll easily recognize it thanks to its camera-shaped icon. Take out the Camera and then press Spacebar (the default key for this on the PC).
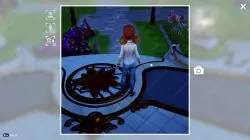
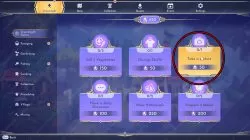
Doing this will then bring up the picture menu where there are a couple of additional options. You can take a selfie, a front-facing picture of your entire character’s body, or photograph your character from the back. You can also rotate the camera to get it into the desired position. Besides being a fun activity in itself, taking pictures is also part of Dreamlight Duties. This is a list of dalies that you can do each day to get some extra Dreamlight. When you have taken your daily photo, don’t forget to go into the Dreamlight Duties menu to collect your reward for doing so.


Can you share how to actually view the pictures we made? I’m on PS5.