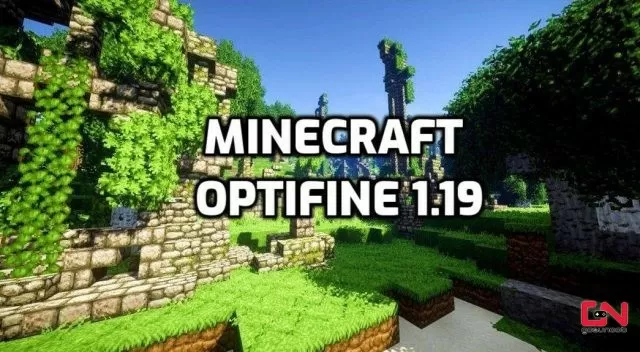
How to install Minecraft OptiFine 1.19
OptiFine Mod for Minecraft 1.19.1 and 1.19 is now here! OptiFine is one of the most popular Minecraft mods. Not only that it makes your game run faster with its FPS boost feature, but it also makes the game looks much better. This is thanks to its Dynamic Lights, Fog Controls, Shaders, HD textures, and other visual buffs. The 1.19.1 version of Minecraft has been recently released, and now the accompanying OptiFine version is here. In this guide, we explain how to download & install Minecraft 1.19 OptiFine.

How To Download & Install Minecraft 1.19 OptiFine
The Optifine mod for Minecraft 1.19 is now available for everyone and you can start enjoying all the benefits immediately and for free. Installing this mod is a rather easy process even if you’ve never done it before. For that, you just need to follow a few simple steps. Without further ado, here’s what you need to do:
- Go to the official OptiFine website.
- Click on a blue “Download” button left of OptiFine HD U H8 for Minecraft 1.19.
- When the setup file downloads:
- Right-click on it.
- Go to “Open With”.
- Chooce to open with Java.
- The installer will ask you to select a folder where to install the mod (It should be automatically set to AppData\Roaming\.minecraft).
- The installation process will start, and once it is completed, you’ll receive a message “OptiFine is successfully installed”.
- Click the “OK” button.
- Open the Minecraft launcher.
- Open the Installations menu.
- Find OptiFine and click “Play”.
And that’s it, congrats! You’ve successfully installed Minecraft OptiFine 1.19! However, what thing you should know is that if you have Minecraft Forge installed, OptiFine only works with Minecraft Forge 41.0.63. Thus, you won’t be able to use any benefits of OptiFine with any other version of Forge. With that being said, that’s all you need to know about Minecraft OptiFine 1.19 installation. Have fun!

