Seirai Island Pictures Genshin Impact - Reminiscence of Seirai
Genshin Impact Seirai Island pictures locations in Reminiscence of Serai are places where you need to go and take a photo of the local landscape. The quest givers ask you to basically recreate several photographs that they’ll give you. Other than that, you’re complete on your own. It’s up to you entirely to find these places and position yourself correctly to take the perfect shot. Well, if the developers won’t help you with this quest, we will, with our Go to Seirai Island and Take Pictures guide.
Go to Seirai Island and Take Pictures Locations in Genshin Impact
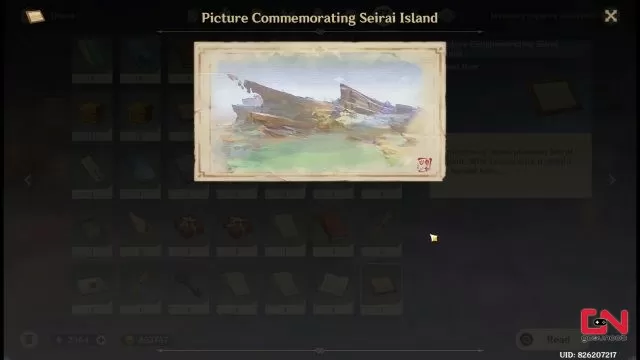
To complete the Genshin Impact “Go to Seirai Island and Take Pictures” quest, or Reminiscence of Seirai, you need to go to the island and photograph specific locations. At the start of the quest, Furuya Noboru will give you one picture that you’ll need to replicate. After that, when you speak with Oda Tarou, you’ll get three more. Once you have all four pictures in your inventory, off you go to Seirai Island on your photography adventure. You can take the pictures in any order, but we’ll be explaining them from I to IV.
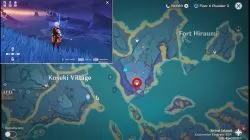
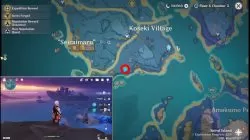
The first picture you need to take is in the north of the island, northeast of Koseki Village. You need to stand on top of a hill and look to the southwest to see the landscape you’re required to photograph. For the second one, go southwest of Koseki Village and jump atop the ledge to the left after you cross the wooden bridge. Take a picture of the island that kinda looks like a steamboat.
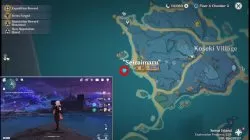
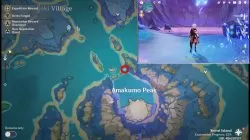
The third Seirai Island picture location in the Genshin Impact Reminiscence of Seirai quest is near the wreckage of the Seiraimaru. Go to the southern of the two small islands west of the wreckage, turn around to face the Seiraimaru, and take a photo. The fourth and final location is on the north bank of the lake at the bottom of Amakumo Peak. Take a picture of the mountain from across the lake. Just keep in mind that lightning will be hitting all over the place constantly, so remember to heal up if necessary. The pictures below will show you exactly where you need to stand and how to position each photo.
