Lincoln Tunnel Checkpoint Challenge Mode | The Division
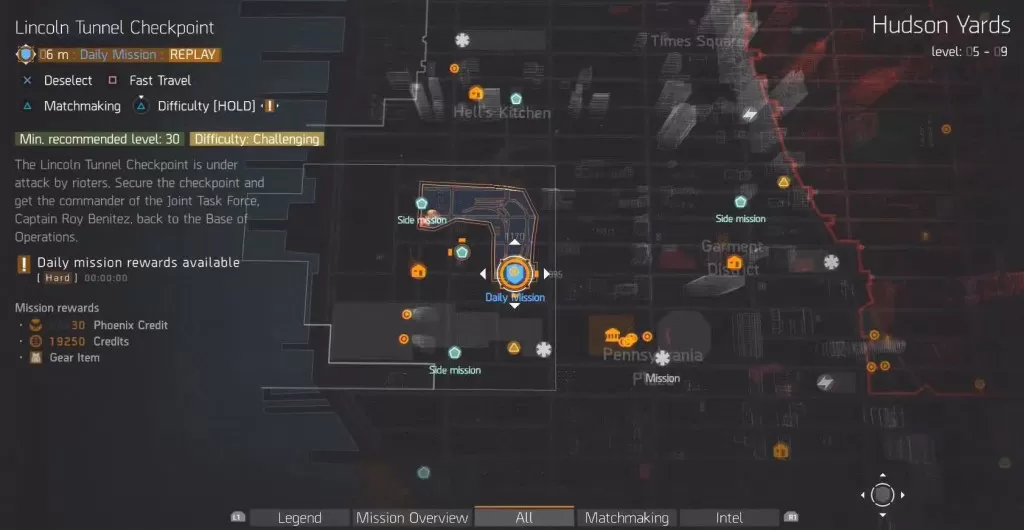
Lincoln Tunnel Checkpoint is one of the main missions in The Division. After you reach level 30, it can be replayed on challenging difficulty.
It will be much harder, but it will also yield amazing rewards, including Phoenix Credits and yellow items. In this guide, we’re going to show you how to beat Lincoln Tunnel Checkpoint Challenge Mode in The Division.
If you’re looking for general advice on how to handle the challenging difficulty missions, you should check out our Division Challenge Mode guide.
If you’re feeling cocky, you could climb the building on the right and shoot at them from there, but it will leave you pretty exposed. Once the enemies are cleared out, you’ll start the next objective. The gate will lower and let you into the tunnel proper. There’s no one inside, until you reach the floodgate. After you kill the two enemies guarding it, make sure to restock at the ammo crate.
 A group of enemy soldiers will blow the garage doors and attack you. You’ll have nowhere to fall back. Take cover inside the control room – there’s an ammo cache there as well. Avoid clustering – you’d best spread out across the room, to avoid getting caught in a grenade blast together.
Take control of the area one step at a time, slowly inching towards the exit. You’ll have to babysit Benitez as well. His health bar will pop up, along with the words protect Roy Benitez. Make sure he lives through the attack. Once you’re outside, a boss called Finch will show up. Ignore him for the time being – his shields regenerate, so trying to get him while there’s others in the battlefield is useless. Clear out his minions while trying to stay out of his sight – he does quite a bit of damage. Fall back to the garage if they overwhelm you. Once he’s the only one left standing, flank him and put a couple of magazines into his back.

If you’re looking for general advice on how to handle the challenging difficulty missions, you should check out our Division Challenge Mode guide.
Reach the security center
After you start the mission, you’ll have to go down the street towards the tunnel. The first objective finishes after you’ve come to the short tunnel before the real thing. On your way down, you’ll fight several groups of level 32 enemies. Make sure you activate them one by one, otherwise you won’t be able to handle them. Clear out a single group, then slowly move forward. Whenever you feel threatened, back up a bit, put some distance between you and them.Secure the tunnel entrance
After you pass through the small tunnel you’ll end up at a checkpoint. Use the right side of the passage – the cover is way better there. Hold your ground at the exit of the small tunnel and chip away at the enemies from there. If need be, fall back inside. There will be a large group of enemies there, all of them level 32.If you’re feeling cocky, you could climb the building on the right and shoot at them from there, but it will leave you pretty exposed. Once the enemies are cleared out, you’ll start the next objective.
Reach the floodgate
 The gate will lower and let you into the tunnel proper. There’s no one inside, until you reach the floodgate. After you kill the two enemies guarding it, make sure to restock at the ammo crate.
Defend the JTF while the bomb is disarmed
A timer will start ticking down and enemies will start pouring into the tunnel. Run back and try to meet them as close to the entrance as possible. This way, you’ll have space to retreat if their push becomes too hard for you. You’ll have to hold them off for 3 minutes. Once the bomb has been disarmed, clear out the remaining thugs. After that, follow the corrider and talk to Roy Benitez.Survive the assault
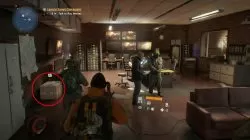
 A group of enemy soldiers will blow the garage doors and attack you. You’ll have nowhere to fall back. Take cover inside the control room – there’s an ammo cache there as well. Avoid clustering – you’d best spread out across the room, to avoid getting caught in a grenade blast together.
 Take control of the area one step at a time, slowly inching towards the exit. You’ll have to babysit Benitez as well. His health bar will pop up, along with the words protect Roy Benitez. Make sure he lives through the attack.
Take out the leader
 Once you’re outside, a boss called Finch will show up. Ignore him for the time being – his shields regenerate, so trying to get him while there’s others in the battlefield is useless. Clear out his minions while trying to stay out of his sight – he does quite a bit of damage. Fall back to the garage if they overwhelm you. Once he’s the only one left standing, flank him and put a couple of magazines into his back.
