Bonecharm Locations | Dishonored 2
The Good Doctor Bonecharm locations
1. This bonecharm is located on the start of the level.
Bonecharm Locations The Clockwork Mansion
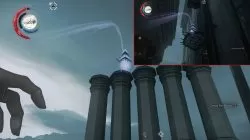
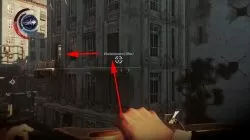
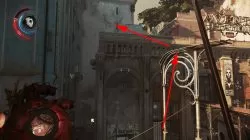
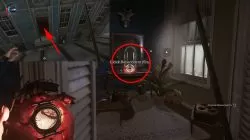
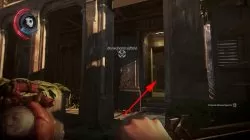
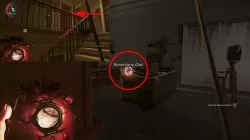
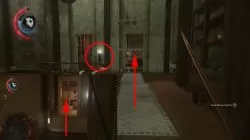
1. The first bonecharm in mission 4 is near the start of the mission. Once you exit the underground, use your powers to climb onto the crows nest above you in the middle of the street. From there, go onto balcony of the gray building on the right side of the street. Jump onto the second balcony and go inside. The bonecharm is in the cupboard, so smash the glass and it’s yours.
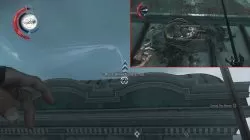
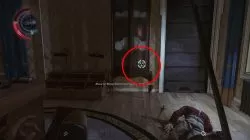
2. To get the second bonecharm in act 4, go from the balcony in the previous entry onto the crows nest. From there, use your powers to get onto the left side of the roof of Aventa Station. Walk along until you see another open balcony on your left. Go inside. The black bonecharm is under a glass bell on the right side of the room.
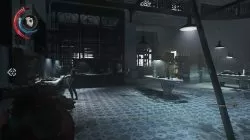
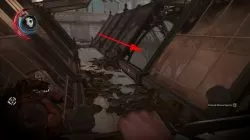
3. To collect the next bonecharm, find your way back to the roof of Aventa Station. This time, go to the center of the roof and look for a missing glass pane in the skylight. There are guards inside, so be careful. Drop down when the coast is clear and incapacitate the guards. The bonecharm is waiting for you in the large hallway to the left of the carriage.
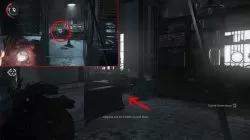
4. The next, fourth bonecharm is near the beginning of the Upper Aventa District. When you get out of the carriage, go right immediately. Go up the stairs and into the Records room. Pick up the bonecharm.
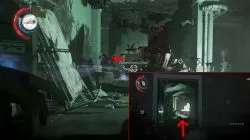
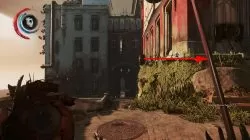
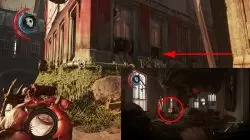
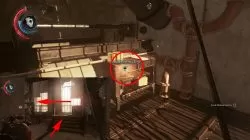
5. To find the fifth bonecharm in mission 4, you need to go around the red, condemned building. It’s left of the large crane. Inspect the ground floor and you’ll see an open window. Climb inside and you’ll see the corrupt bonecharm sitting on a stool in front of a painting canvas. Pick it up, but mind the bloodflies.
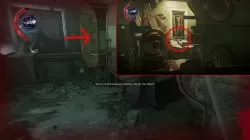
6. The next bone charm is in the Clockwork Mansion itself. Take the elevator to the Assessment Chamber. Be careful of incoming enemies. Exit the elevator, go right, then left to enter the kitchen. Walk to the fireplace and head left. Cross the area with huge cupboards an pull the Configuration lever at the end to bring a piece of the Guest area down. Keep moving forward until you reach the generator room. A wall of light is on the right. Go left around the generator and pick up the bonecharm from the small desk.
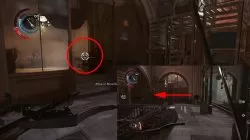
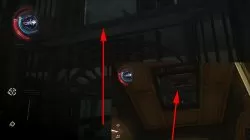
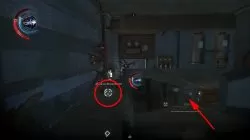
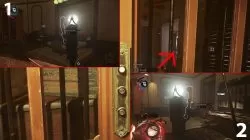
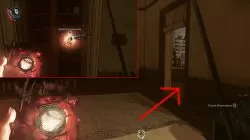
7. The final bonecharm in act 4 is a little tricky to find. Go into the the elevator you used to go down to the Assessment Chamber and go down to floor -1. Look up and you’ll see an opening in the elevator roof, so use it to get up. In front of you are two hatches, one above the other. Open the topmost hatch and use your powers to go through it. Go left and follow the corridor. You’ll come across a bloodfly-infested corpse. Get rid of the flies and collect the bonecharm.
