Destiny 2 Leviathan Raid Guide - Boss Strategy & Rewards
The Leviathan is the first raid in Destiny 2. It takes place on a giant Cabal ship designed to swallow entire planets. It has several stages which all end in boss fights, and some spatial puzzles to contend with. When you reach the end, you’ll have to fight an extremely difficult boss – overall, it’s best to jump into it with a coordinated team. Once you’re done, you’re going to get some nice items as rewards, but don’t forget to look for loot chests on the way as well. We’ve written this Destiny 2 Leviathan raid guide to help you out with boss strategies and show you the rewards.
Where to find Loot-a-Palooza Key?
The Loot-a-Palooza key in the Leviathan Raid can only be found as a random drop from a chest. The key has become available after the weekly reset that added the Faction Rally. The Loot-a-Palooza key is a really rare drop, which you can get after defeating Emperor Calus. You’ll probably have to kill him several times before you get the key, and even then, probably only one fireteam member will get it. Once you do, you can start an event in The Tower, which will reward you with the Dance Party Key. Check out our Destiny 2 Loot-a-palooza and Dance Party Key and Chest Locations guide for more info.
How to start Leviathan raid?
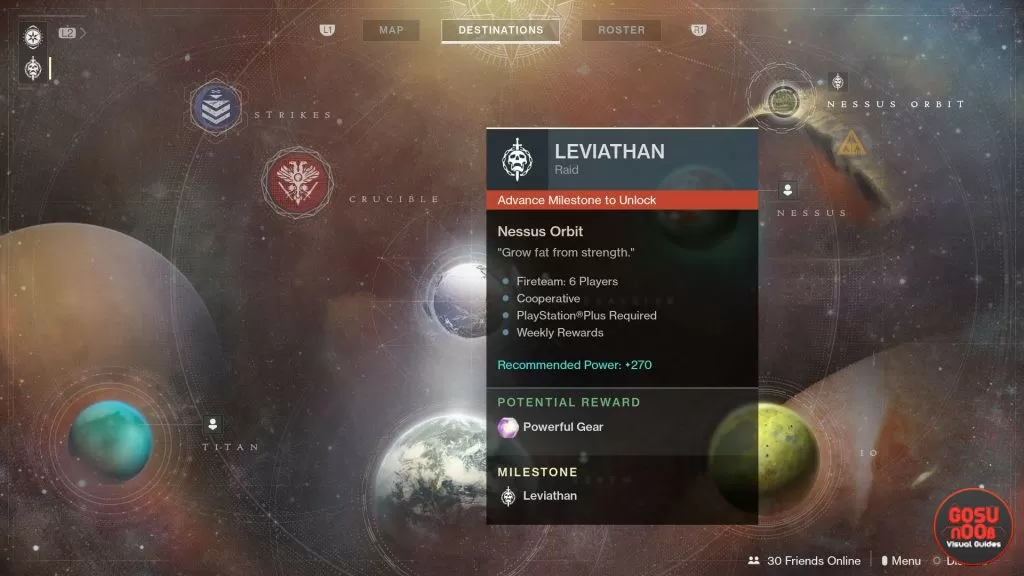
In order to start the raid, simply move your cursor to Nessus. The raid’s starting point is in Nessus’ orbit. You start it from the map, without actually going anywhere. If you’ve got the Await the World-Eater quest, you’ll automatically get the Destroyer of Worlds quest as soon as you’re in the game. It will task you with finishing the raid.
The raid is a set of trials made up by Calus, the former Cabal Emperor. You’ll have to go from one trial to the next, figuring out and completing them all, which will let you get to the ship’s treasure.
When you finish each trial, you’ll get a key for a particular loot chest – Aqueduct, Ventilator, Drain and Irrigation.Standard Bearers in Castellum – First Trial
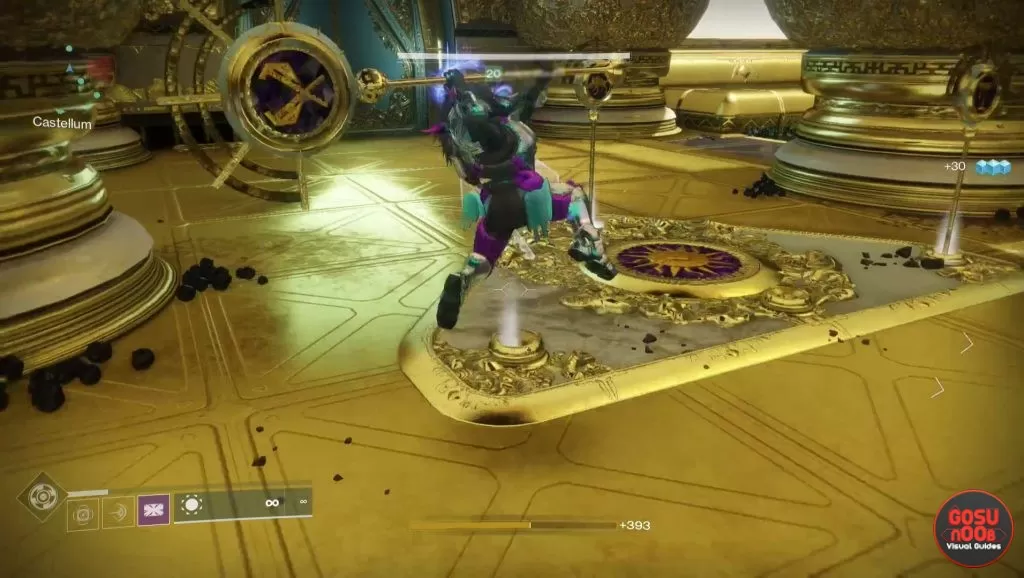
The first trial requires you to claim and defend standards in the Castellum area. There are four key points here – one is where you place the three standards, the other three are where they’ll spawn one by one. Your best bet would be to divide into two teams – one team should stay at the receptacle and defend it. If the enemies reach it, they’ll reset your progress. They also need to tell the other team which standard is up next. The other team then runs to the designated spawn location. When they defeat the elite enemy there (Standard Bearer – big Cabal with yellow health bar), a standard will spawn and one of the players neeeds to pick it up and bring it back to the receptacle are and place it there.
After you place all three in it, the nearby door will open, letting you through. You’ll find your first Leviathan Raid loot chest there, with a Calus Token inside.
Bathers in Royal Pools – Second Trial
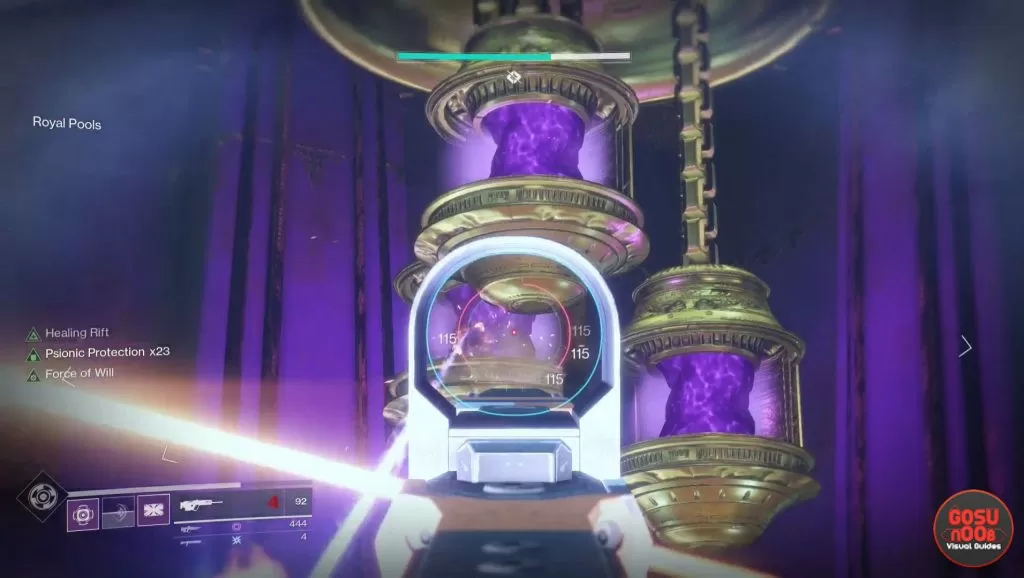
When you get to the next trial, you’ll have each player stand on four pressure plates in the pools. There’s a fifth pressure plate in the middle. Each of the plates have a ball that, when picked up gives you a buff Psionic Protection that lasts for 50 seconds. This is a one-time buff, that you get at the start of the encounter. This buff protects you from damages from the poisoned bathing pools. Once 4 players are standing on their pressure plates the enemies will start spawning and chains next to the pressure plates will start going slowly down. If you look at the chain, you’ll see a grayish, concrete-looking part that you need to get all the way down. Four players should stand on the plates around the area at all times, while the fifth and sixth player stand each in their side of the room, helping when necessary and reviving fallen friends. So, three players for each half of the room. While you stand on the plate an epic Ceremonial Bather enemy will spawn. Use your heavy weaponry to take care of him without dying. Once your buff is close to ending you need to announce it on team voice chat and have one of the free players take your place while you run from your plate to the middle to refresh the buff. You can come back to your plate and free the roaming player so he can go help another or become the roamer yourself (depending on how well coordinated you are). The goal here is for all four pressure plates to be stood on until the chains come down and you hear a sound.
Players not on the pressure plates are there to help players that can’t kill harder enemies or to revive the dead ones. They also can replace people on plates while they run to refresh their buffs.
Hold the position long enough, and the sun plate in the middle chamber will surface. Stand on it and shoot the purple lanterns hanging from the ceiling. You might not manage to destroy them all in one go – if you don’t, simply repeat the whole process. Once the lanterns are gone, you’ll get your loot chest and return to the Castellum area, where you’ll have to repeat the standard challenge.
TL;DR version:
- Four players go to the pressure plates in the corners of the arena and pick up the first Psionic Protection buff that protects them from poisonous pools damage.
- They stand on the plates until the chains go all the way down for all players, while fighting enemies.
- When their buff expires players run to the middle of the arena to refresh the buff. Extra players pick up the buff from the center and take their place on the plates.
- Fifth and sixth player (free-roaming) run to whoever needs help killing hard enemies or help swap out while people run to refresh buffs. Basically, all three players on each side run in a circle and swap each other out. This is a near-perfect Destiny 2 Raid bathers strategy.
- Once you hear a sound and all 4 chains have lowered all players run to the middle and destroy purple lanterns that show up in the middle room.
- Rinse and repeat until all purple lanterns destroyed. Thus ends our Destiny 2 Leviathan Pool guide section.
Royal Beasts in Pleasure Garden – Third Trial
Once you’re in the Destiny 2 Pleasure Gardens, you’ll have to survive the hunt, which is kind of a stealth section. At the beginning clear the enemies in the area, then climb to the base of the giant golden statue. Have two members grab the orbs – they’re going to have to jump into the beams of light to charge them. Once they’re charged, the round trapdoor under the statue will open – the other four should jump down and grab the pollen.
This is where the stealth section starts. One of the more important Leviathan Raid tips: If the pollen bearers are seen, a countdown starts and you have to do damage to the bosses quickly. When it ends, everyone outside of the safe room (where you picked up the pollen) will die. To avoid this, the two players with the orbs will have to scout from above and tell the ones with the pollen where to go. Guide them towards the glowing flower and around the patrolling hounds. When they’re there, shoot the flower with your orb. It will buff them up. Repeat this as many times as you can to get as many Empowering Spores buff stacks as possible (60 is max).
Your goal is to kill several boss Royal beasts (B’ael, Ta’aurc, M’orn, Aru’un, Va’ase, To’ourg) located around the arena. When the pollen bearers are all buffed up they should run to the boss beasts and do damage to them. The best Destiny 2 Pollen Raid strat so far is to do equal amounts of damage and not kill just one beast at once, because this starts a restless timer. Having the Empowering spores buff stacks increases damage you do against the beasts. After about 15-20 seconds of doing damage run back to the safe room and do the whole thing again. Guys up top scout while pollen bearers sneak around to get the buff. Once discovered or have enough stacks of the buff go do damage to the beast until in the last wave you kill all beasts at once. This will end the Destiny 2 Leviathan Raid- The Gardens.
TL;DR version Royal Beasts guide:- Go to the base of the giant golden statue and have two members pick up orbs that they charge at the light beams scattered around the arena.
- Other 4 players drop down into the room where they pick up pollen.
- Four players sneak around the arena guided by two scouts from above to pick up as many Empowering Spores buffs as possible before being discovered.
- Once discovered you have 30 seconds to do damage to Royal beasts around the arena.
- Best do equal damage to all Royal beasts and not kill any until they are all low health.
- All run back to the safe room before 30 seconds run out.
- Repeat until all beasts are dead.
Gauntlet – Prove Your Worth – Fourth Trial
Jump on the round platforms to summon the enemies. Kill enough of them to fill up the meter under each pillar, which is when the psionic charges will spawn. Two players should grab one each, which will transport them into the tunnel that surrounds the area. The others need to stand on the platforms and shoot at the glowing triangles.
The ones in the tunnel should run clockwise, and call out in which row the red circle is. The ones outside should then shoot the other two rows (the rows that don’t contain the red circle). They need to do it fast – two players per barrier, each one shooting one triangle. This will open up the barrier, letting the tunnel players go further. Repeat with every obstacle, and once they’re out, they should take the charges to the middle. Repeant until half the receptacles are filled.
When a countdown starts, run into the room in the middle. You’ll all end up in the tunnel, and you’ll have to race around. Each player will have a separate timer, and picking up orbs in the tunnel will add seconds to it. Coordinate to keep everyone above zero. Everyone has to make it to the end, which ends this trial.
TL;DR, step by step:
- Four players are Shooters, they stand on four pillars. Kill all Cabal that come in until Psionic Charges appear at the Chalice and Dogs gates.
- Two players are Runners. They grab the Psionic Charges and are teleported to the outer ring and run the Gauntlet.
- Runners jump through red hoops, Shooters shoot the triangle buttons where the red hoops aren’t. Runners call out, for example, TOP, and Shooters shoot the middle and low triangles.
- Shoot the triangles until they’re all green, then the Runner goes through the hole.
- A Psion appears when a Runner goes through, kill them immediately.
- After Runners complete the lap, they deposit charges in the middle of the room. Repeat until you have a charge for each player.
- Once there’s a charge for everyone, all members grab one and head to the outer ring together. Each team member has a separate timer; collecting orbs increases it.
- Everyone needs to make it to the end, so make sure that everybody’s timer is above zero. Swap runners so that everybody gets equal orbs.
- Once everyone completes the full lap, quickly run to the middle and deposit the charges. This concludes the Leviathan Raid The Gauntlet section.
How to defeat Calus boss?
Shoot the cup in his hand to start the fight. Keep fighting the enemies he spawns until he teleports you away into another dimension. A giant projection of him will try to pull you towards it – three people should stay, getting stuck at the small wave barrier. The other three should pick up the orbs to get back into the boss room.
Several psions will spawn outside – do not shoot at them immediately. The players inside should call out which signs they see on the giant projection’s forehead. The players outside should ignore the psions with those signs, and kill the one that wasn’t called out. This will move the barrier forward. Repeat the process several times, and the players in the projection will keep moving closer to the giant head.
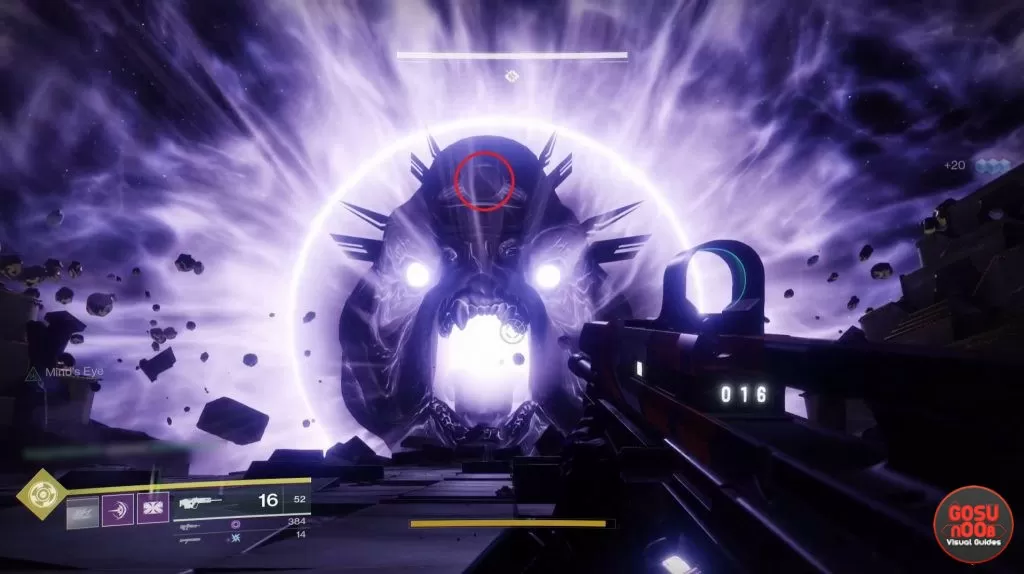
Once they’re in front of it, it’ll start spitting skulls at them. They should shoot and avoid the skulls. When this is over, orbs will spawn – take them to get back to the boss room. At this point, everyone should climb a platform and start shooting Calus – he won’t be invincible for a while, but only if you stand on one of the platforms. You should all group on a single platform, shoot until he’s invincible again, then move to another platform and repeat. Once he goes to the throne and starts glowing, hit him with everything you’ve got.
TL;DR, if you need one:
- Shoot Calus’s cup from his hand and kill all the adds until he teleports you. Three players grab orbs to return to the room before, three stay behind.
- Players that stay behind call out symbols that appear on the giant head. Those outside kill all Psions except the ones that bare the called-out symbols.
- Shoot Calus when he charges up the beam. Dodge the Void skulls. Keep going until three more orbs appear.
- When everyone is in the same room again, the whole team needs to stand on one platform, then shoot Calus in the head and the stomach, when it becomes available.
- When he becomes invincible and charges his beam, move to the next platform.
- Quickly finish him off when he runs to the throne. Otherwise, he’ll explode and wipe you. Go pick up your rewards, including Emperor Calus tokens.
Leviathan raid rewards
The Destiny 2 raid rewards include a ton of stuff, including pretty powerful weapons and armor. You’ll also get a good number of Emperor Calus Tokens. What are Calus Tokens? Well, you can take them to one of the vendors in the Tower, and get the Imperial Engram, with more powerful gear. For more details, check out our article on Destiny 2 Leviathan Raid Rewards Loot – Armor and Weapons.
If you need further help with Destiny 2 Shadowkeep, check out our guides on Dead Ghost Locations, Jade Rabbit Locations, and Eyes on the Moon - How to Start Vex Invasion. If it's Exotic Weapons that you're after, we've got you covered with our Pain And Gain Exotic Quest and Deathbringer Exotic Rocket Launcher - Symphony of Death guides. Going back in time for new players, we can offer you guides like Ikelos Weapons - How to Get SMG, Sniper Rifle, Shotgun, or, if you're playing Forsaken content, guides like Corsair Down & Badge - Dead Body Locations.


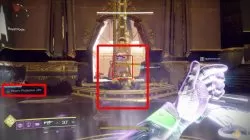
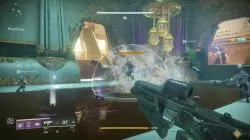


In throne the purple skulls will determine your damage multiplier when you’re in the damage phase on throne, so kill as many as you possibly can if you’re the inside team its the key to killing the boss. Cold heart does amazingly since it has such a large mag.
6 dogs total in Pleasure Gardens. Missing Va’ase and To’ourg.
I was sure we had six dogs down there.
4 dogs??? There is definitely 6 dogs. We killed 4 and failed!
don’t you mean like, in the final boss by the damage phase, u go to another platform after the gong sound?
just my style her right know
On the pleasure gardens theres 4 dogs. The one thats missing from here is called Aru’un.
No there are 6.
This raid seems harder than all the other ones before
There’s only four plates in the bath area.
mistakes were made but are fixed now, thanks for pointing that out
The one in the middle counts as a plate
And the middle plate is important you need to stay on it to damage lamp.