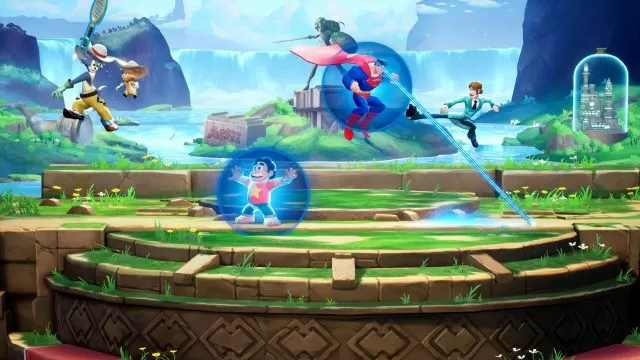
Play Local Multiplayer in Multiversus
Figuring out how to play local multiplayer in Multiversus is a little bit tricky, but nothing too heavy. You just need to look through the menus a bit more carefully. Granted, it’s not the most obvious path in the world, which is why we’ve decided to write this guide. With the intro out of the way, let’s show you how to play local in Multiversus.

How to Play Local in Multiversus
To play Multiversus in local multiplayer, you have to do just the tiniest bit of digging through the menus. They could have made it a bit more accessible, but it’s no big headache. So, the first step is to launch the game, of course. Next, once you’re in the main menu, hit the big, orange “Play” button. In the next menu, look at the very top of the screen. You’ll see three options: Online, Practice and Custom. Select the third one (on consoles, you change the tab with the upper shoulder buttons), then select Local Play. From there, things are pretty obvious – connect the second controller (and third, and fourth, if you want), pick your characters and your arena, and duke it out!
And there you have it, that’s how you play local multiplayer in Multiversus. It bears mentioning that you can fiddle with the settings for your matches. In the menu where you pick characters, select the book in the upper right corner. You can change the type of match you’re playing (Free for All, 1v1, 2v2), change the length of the match, and turn hazards on and off. In 1v1 and 2v2, you can also select the number of ringouts. In Free for All, it’s Highest Score Wins, meaning that you play the entire duration of the match. For more help with the game, check out some of our other Multiversus guides, like Syncing Account State Fix, How to Unlock Characters and MultiVersus Knockback Influence Tutorial.

