Division 2 How to Change & Apply Backpack Skin
Backpack skins, or backpack dyes, are cosmetic items in The Division 2. Applying and changing backpack skins in The Division 2 is a mechanic that you can access from your inventory. They don’t do much, other than set you apart from other players. Which is the whole point, I suppose. So, that said, welcome to our Division 2 How to Change & Apply Backpack Skin guide, where we’ll show you exactly that: how to apply and switch backpack skins in The Division 2.

How to Apply & Change Backpack Skin in Division 2?
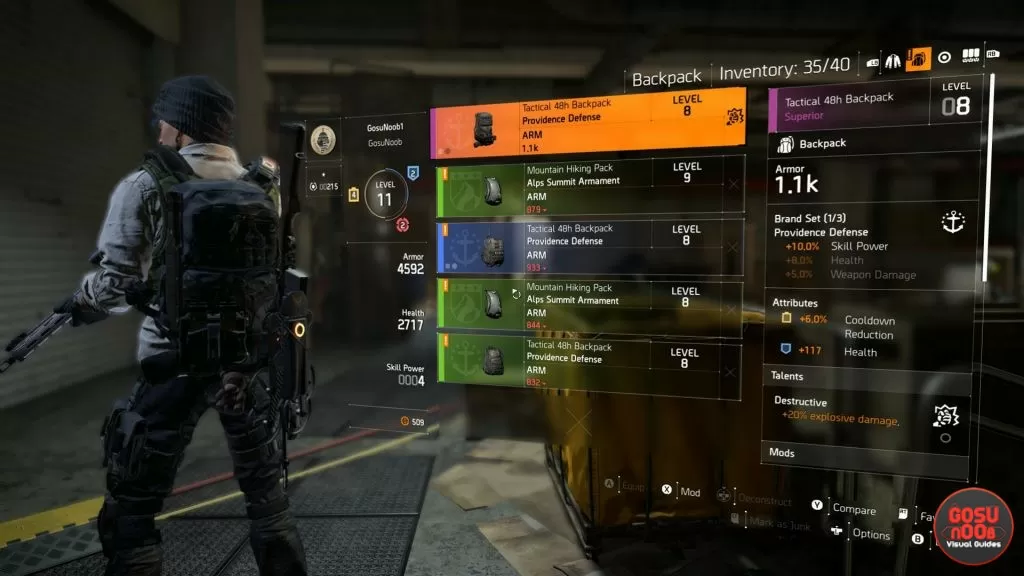
To apply and change backpack skins in The Division 2, you first have to make sure that the backpack is at least rarity level Specialized or above. It has to be either Specialized (blue), Superior (purple), or High-End (gold). Gray and green backpacks don’t have the slot to change the appearance at all. So, if you’re toting a gray or green backpack, and somehow come across a backpack dye, know that you can’t use it until you get some better gear. Works just like applying skins to weapons in The Division 2.
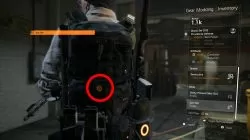
Speaking of dyes, that’s what the backpack skins are called – dyes. To apply one, go into your inventory, and select the backpack that you want to change the appearance of. Then, go into the Mods menu (F on PC, X on Xbox One, Square on PlayStation 4). The Dye Slot is in the center of the backpack, so navigate down there. Select the Dye Slot, and then choose the dye you intend to use. Apply it, and you should be good to go with your new, presumably fancier and zestier backpack. Go out and make them all envy your sweet gear.
Now, you might be experiencing some trouble with something else in the game. If that’s the case, head on over to one of our other Division 2 guides, including, but not limited to, Ubisoft Login Required at Epic Games Store & Launcher, How to Restart Bounty, and When Can you Create a Clan.


